
NEED INSTALLATION?
Supply & Installation prices start from £3,390 for the Firez 1250. View our products for more information on full media wall supply & installation services and contact us to get a quote. For tips and advice, view our free media wall guide.
How to install your media wall
Watch our installation video above, and read our step to step instructions below on how to install your media wall.
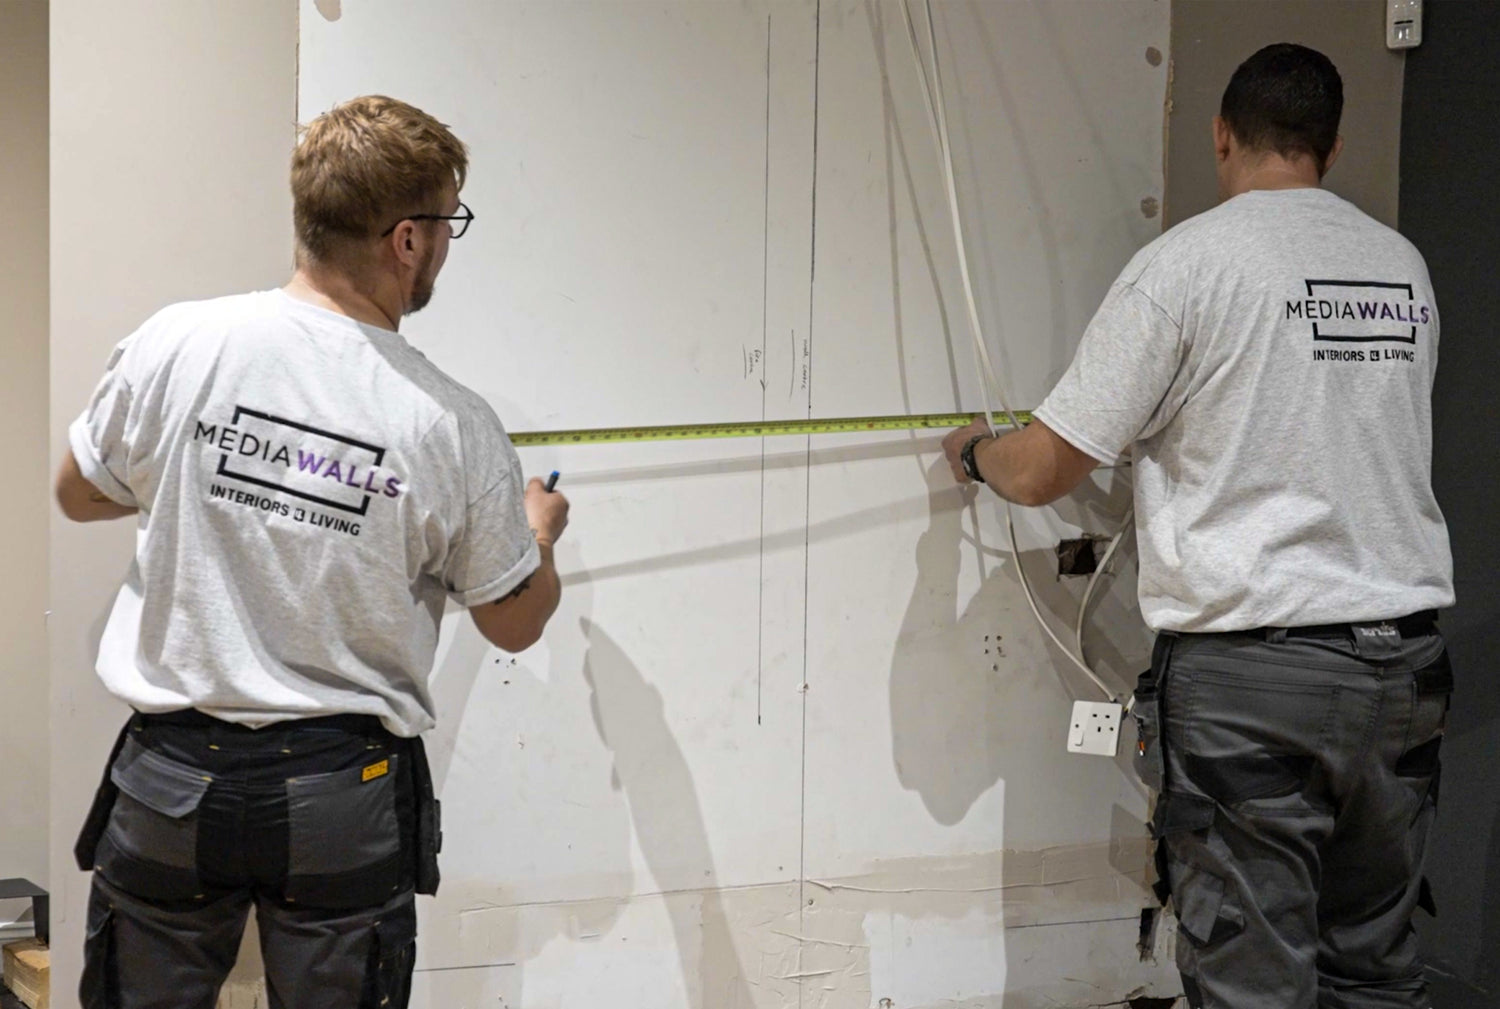
Depending on the design of your media wall you will either measure the proposed wall width to find the centre or if you are creating a standard edged media wall where the breast is the same width as the fire then you will need to measure the width of the fire and divide by two. Mark a vertical line from ceiling to floor.
Electrical cables should be placed in position after marking out the position if having an edge design media wall.
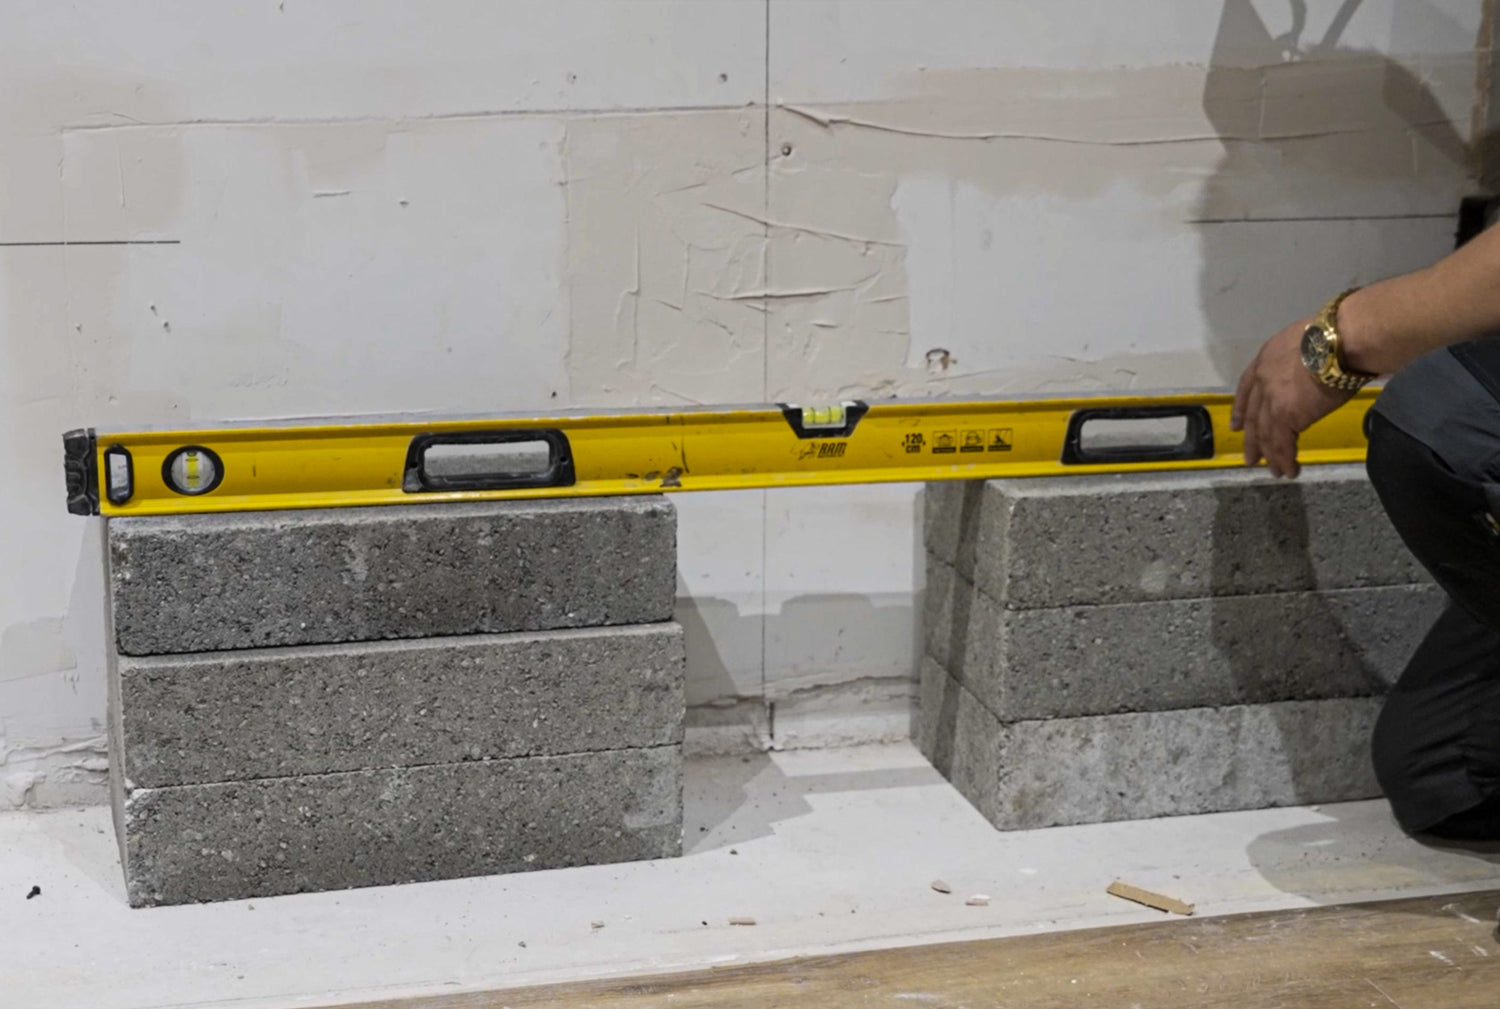
It is recommended that you place the fire on a substantial base capable of holding the weight of the fire. Six breezeblocks are ideal as this will give roughly 300mm in height, place these against on the floor against the wall at equal distances from the edge of the fire base. Use a spirit level to check left to right and also front to back.
As the breezeblocks are placed directly on the floor, using the spirit level will indicate whether the floor is level and subsequently the fire once placed on top. If the floor isn’t level then we advise the use of flooring spacers to adjust this to suit, these will need to be placed beneath the support bars underneath the fire which will be in contact with the breezeblocks.

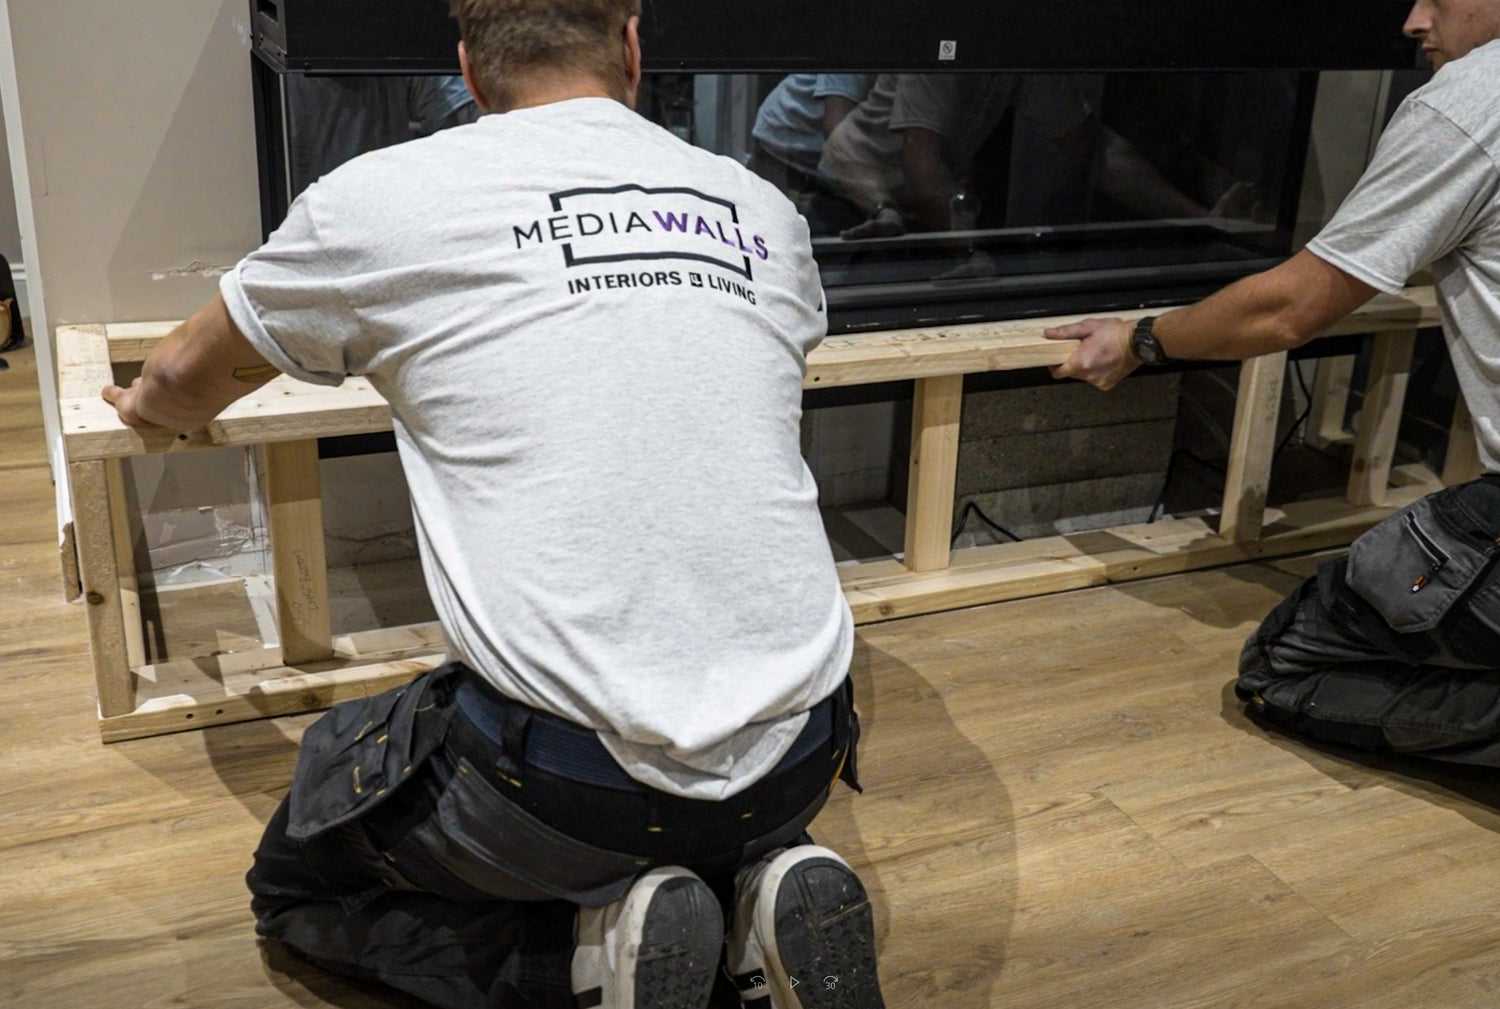
Measure the top of the fire and mark the central point, place the fire onto the breezeblocks and line up the central line with the line previously marked on the wall. Check all directions with a spirit level and adjust accordingly with flooring spacers.
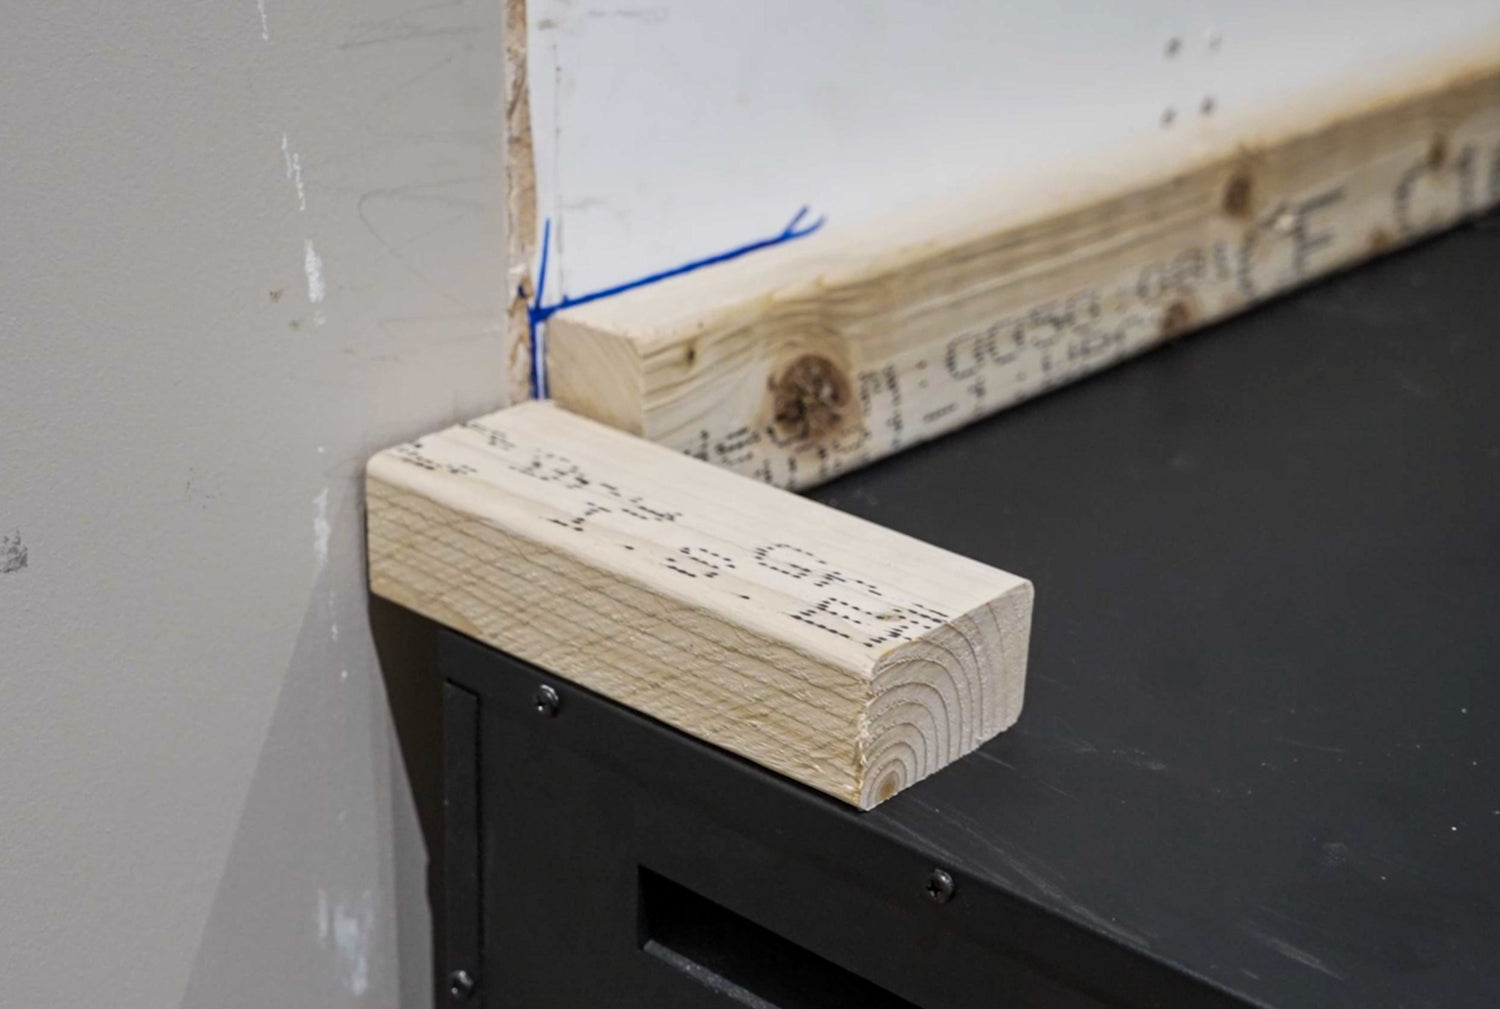
Once the fire is level then place a wooden batten across the top of the fire and screw this to the wall, this will prevent the fire from moving. A small piece is also placed as a marker for the thickness of the timber that will later be placed here after completing the top section of the media wall. The batten should be short the thickness of the timber being used on both sides.
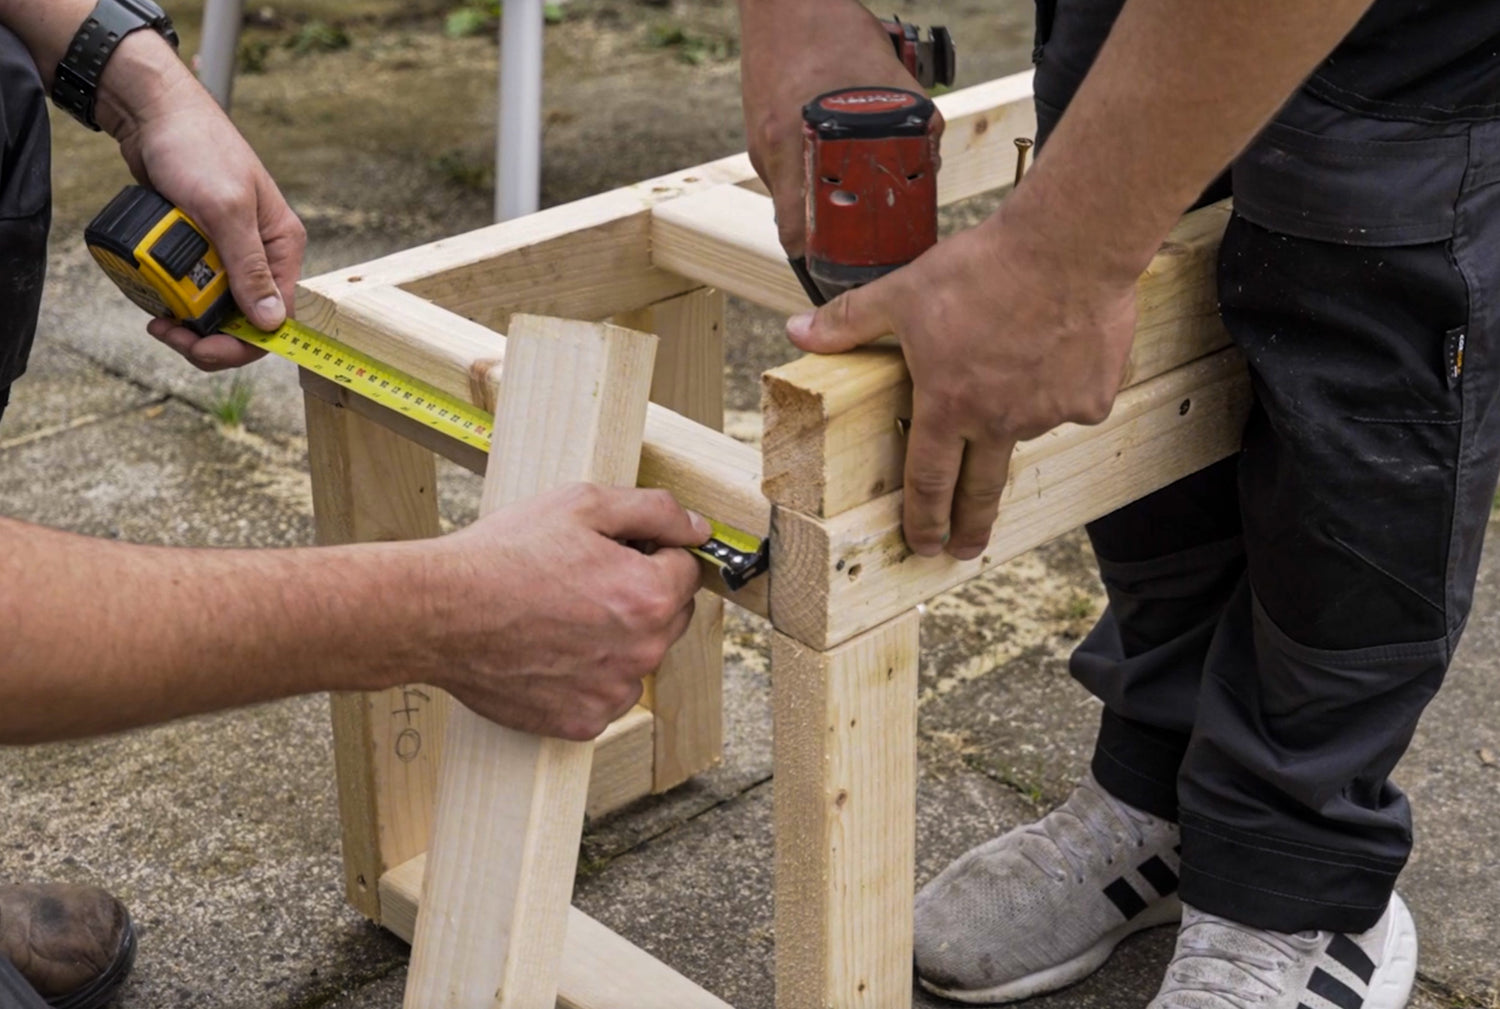
Now that you have your fire level and in position you can construct the base section of the media wall by screwing lengths of timber together, it is worthwhile deciding on the thickness of the plasterboard being used at this point. If the media wall is of an edge design then this framework will be the same dimensions as the base of the fire.
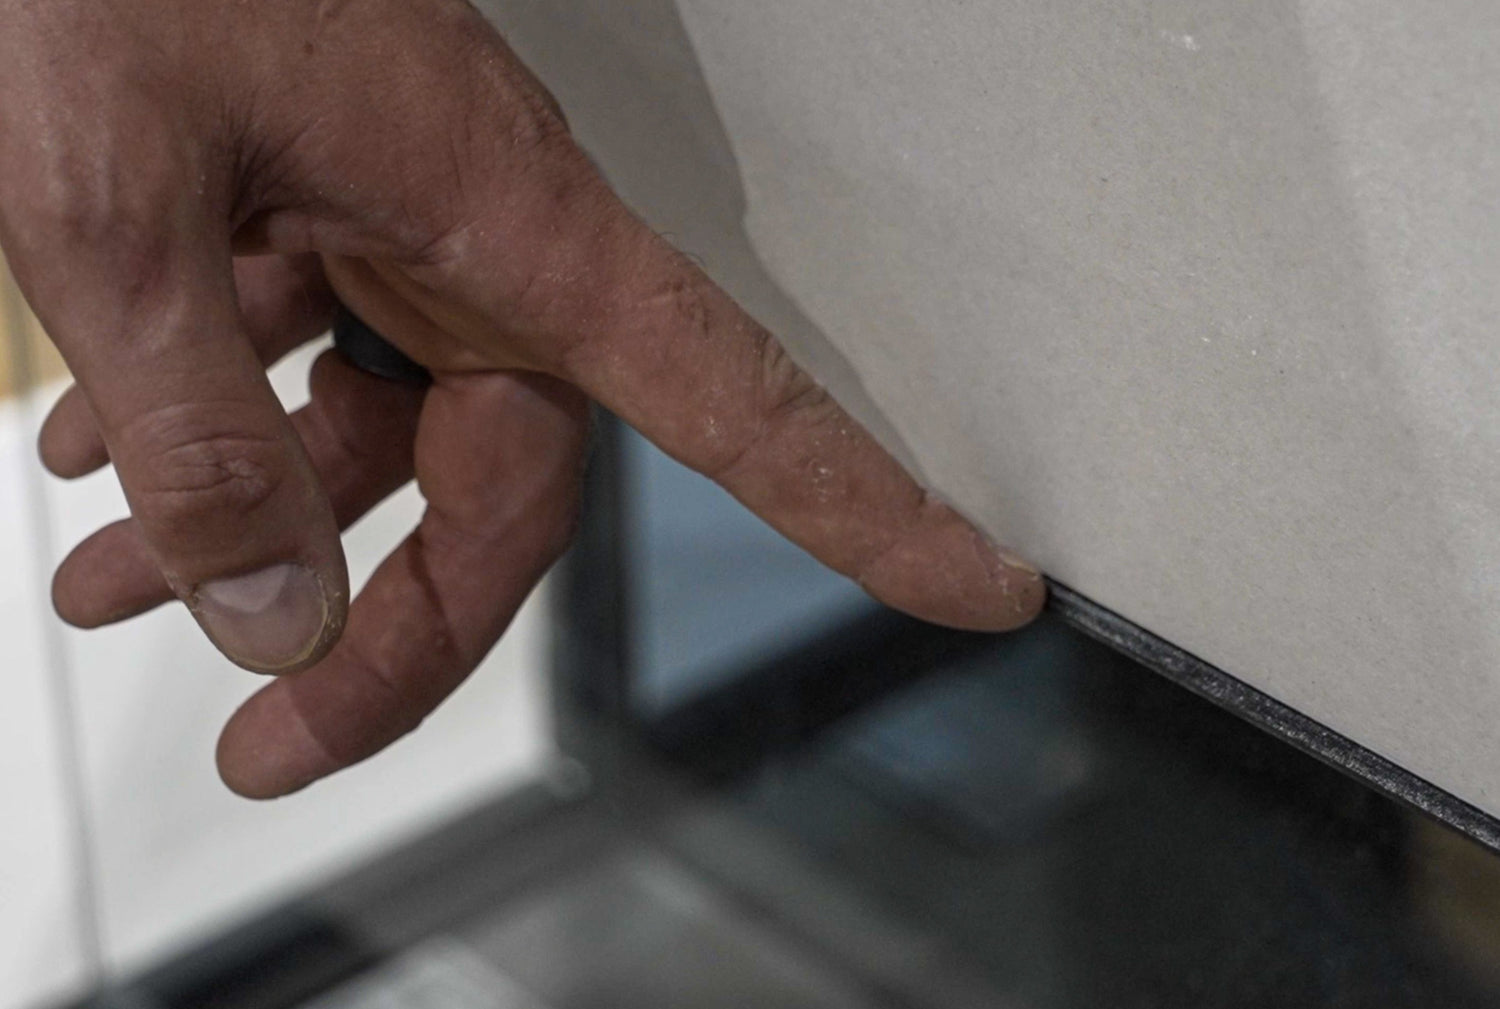
If a base extension platform design is being constructed then the platform will need to sit at a height minus the thickness of the plasterboard being used plus approx 2mm plaster skim. A good way to measure this is by placing a strip of the plasterboard beneath the fire edging and then measure to the floor. Deduct approximately 2mm off this for the plaster skim and tolerance.
*It is recommended that you give a larger tolerance in order to level later when in position.
Once the base platform has been constructed then simply slide into position. In this case the media wall has a base extension platform. Once in position, check the platform is level, adjust using flooring spacers.
Place a strip of plasterboard on top of the platform to ensure that once in position it will be able to be boarded correctly. Once satisfied then screw the structure to the wall and floor to secure.
It is recommended that a detector is used to identify any pipes or wires before drilling into walls or floors.
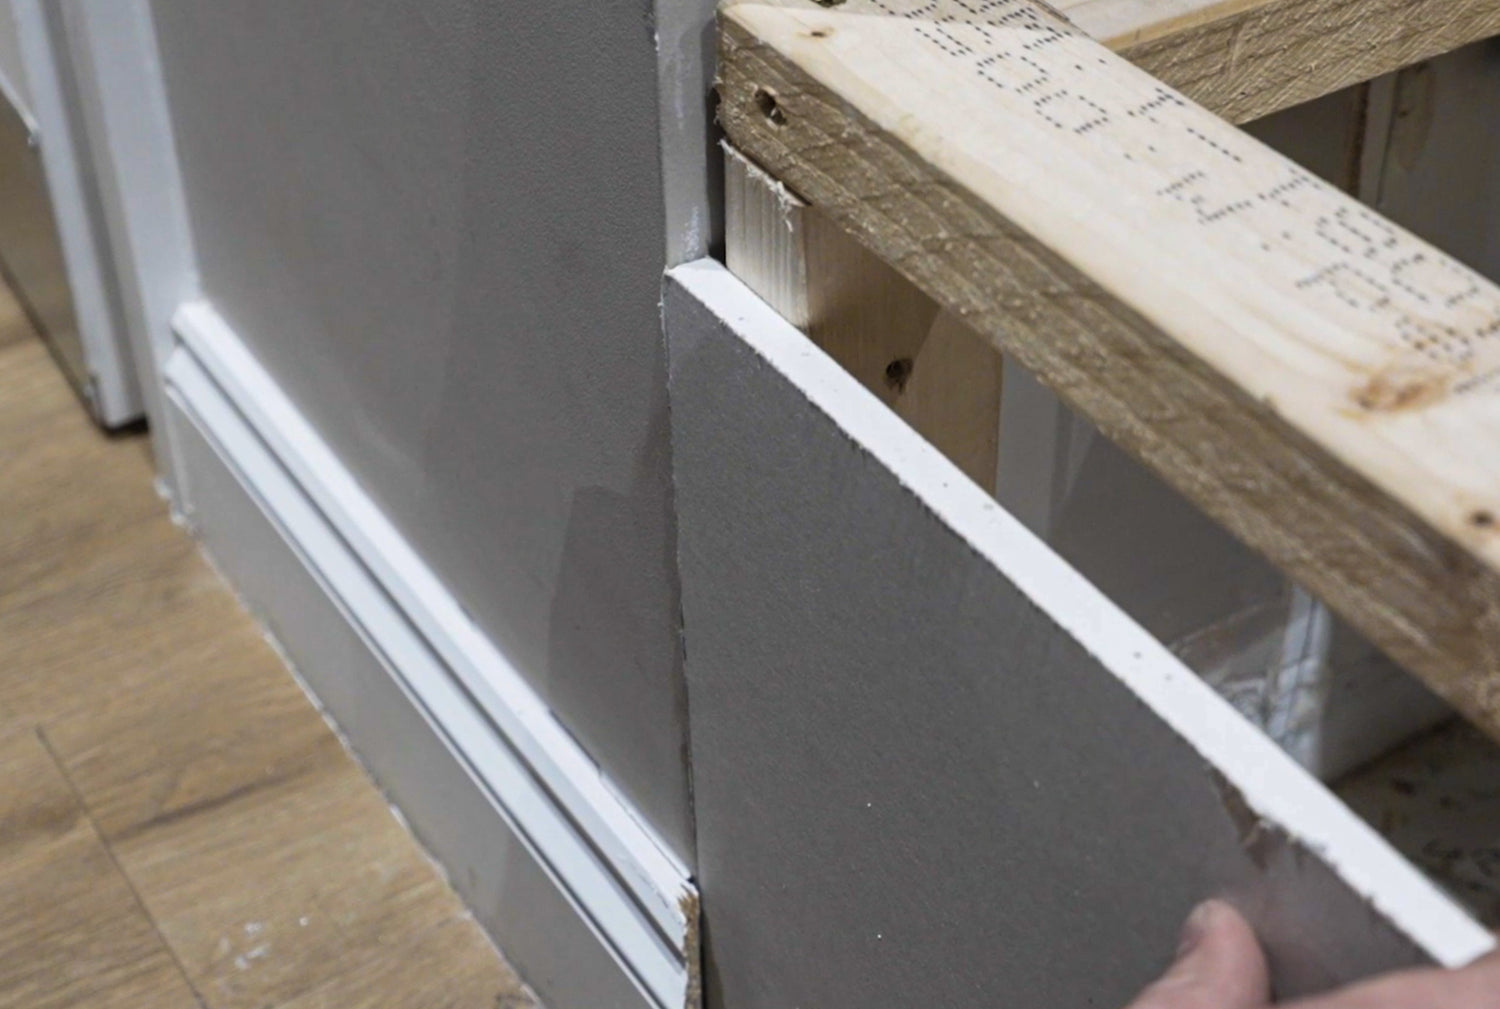
If the media wall is to be constructed where it meets another wall, then we suggest leaving a small step down from the existing wall surface to the new board so the plaster can be feathered in where old meets new.
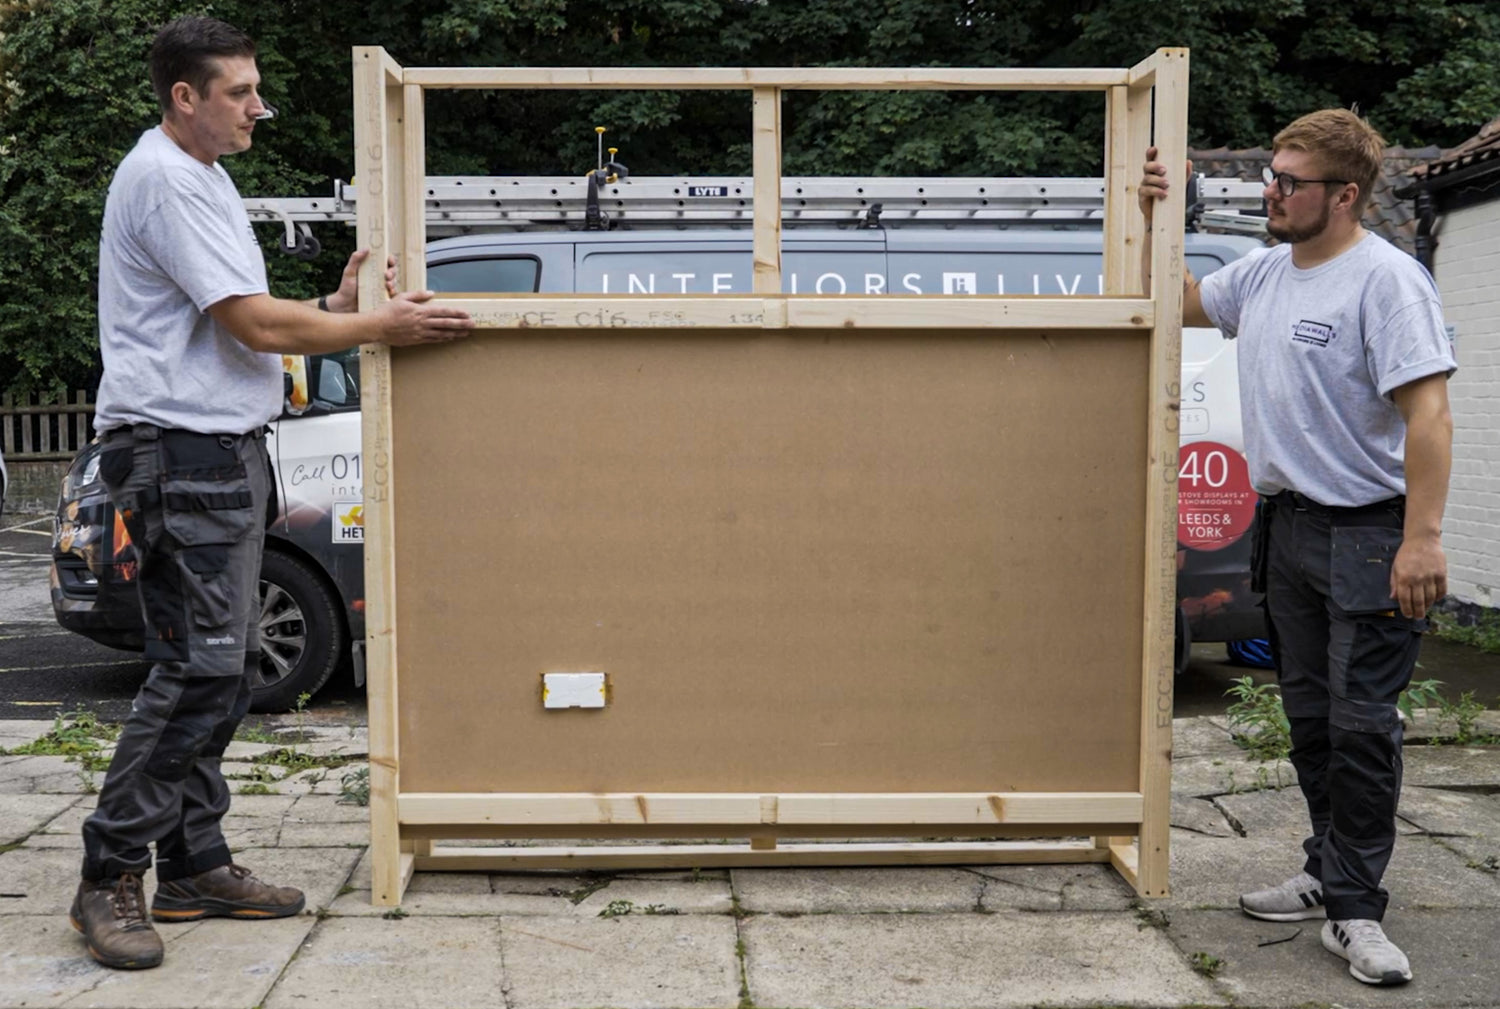
Construct the top section of the media wall to suit your design, we suggest using a 22mm MDF board to form the back of the TV recess, this should be placed approximately 50mm-75mm forward of the wall, this will allow a void behind for cables and also for sockets to be recessed rather than chasing out the rear wall or using surface mounted sockets.
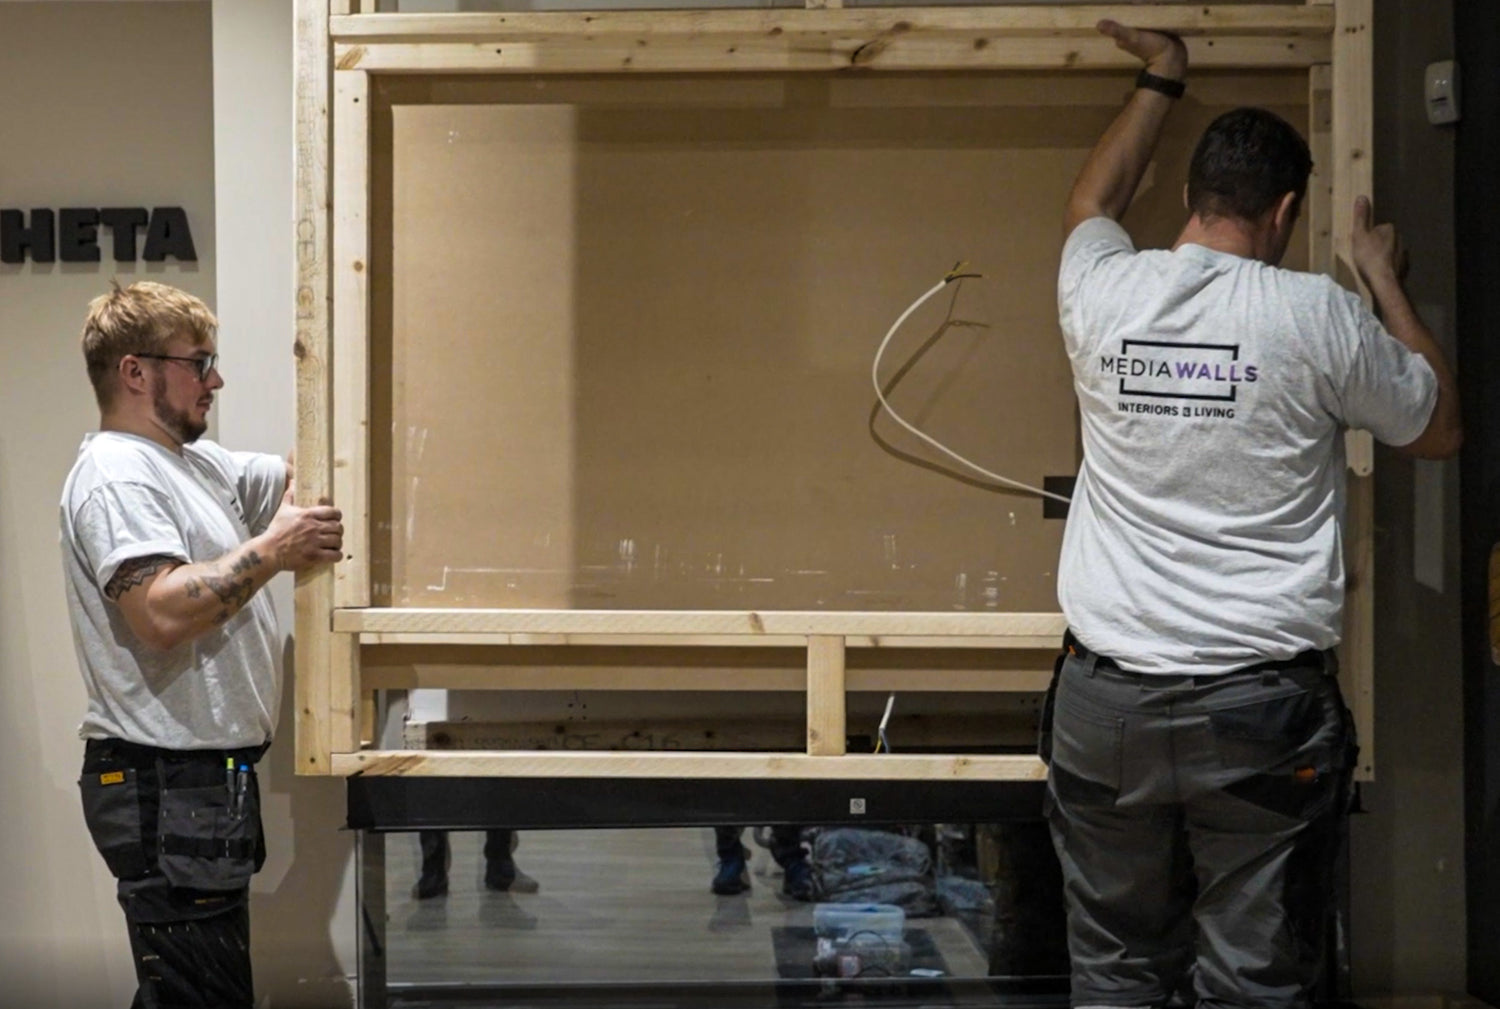
The top section should be the same dimensions as the top of the fire from the wall and in width if having an edge design or extended to suit any other design. Remember there is already a batten on top of the fire so a space must be left to incorporate this.
The TV recess should be sized to leave at least a 25mm gap around the bezel of the TV being used.
Lift the top section into position and check everything is suitable before securing into place. Once satisfied, bring cables through socket hole/s and leave trailing.
Secure the top section into position by screwing to the wall through the timber framework. Appropriate fixings may be required depending on the type of wall being screwed into.
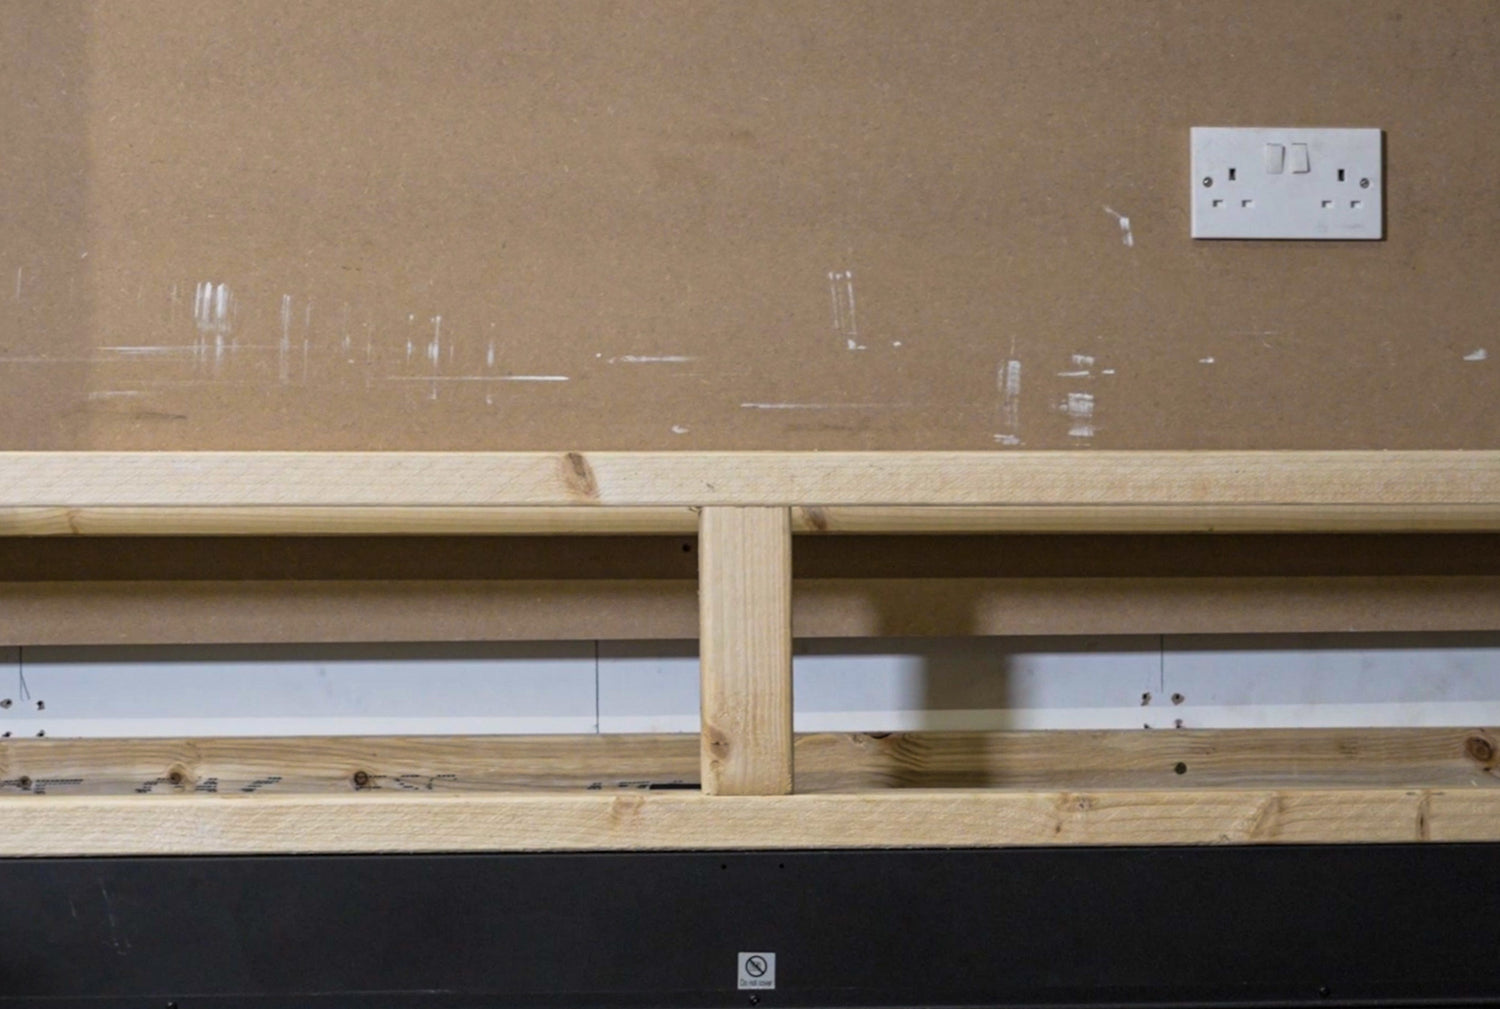
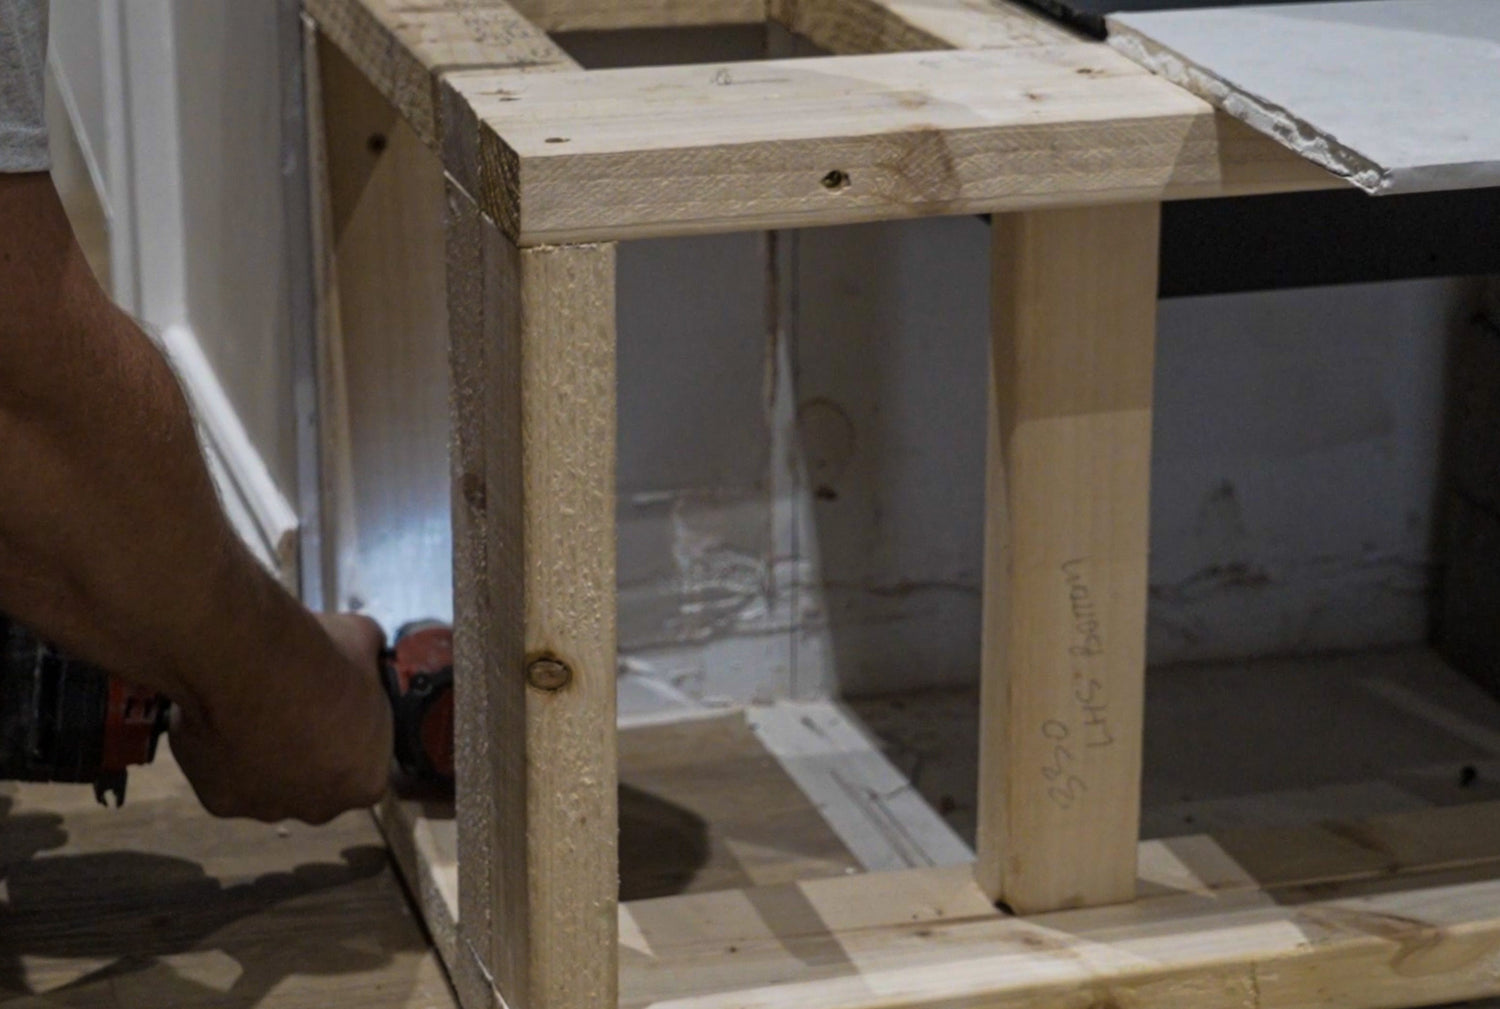
Ensure uprights are put into place across wide sections to prevent any bowing of the timber later. This applies to the whole structure.
A central support is shown, if a soundbar recess is incorporated then an upright support should be placed on both sides, now is also a good time to route any optical, power or HDMI cables.
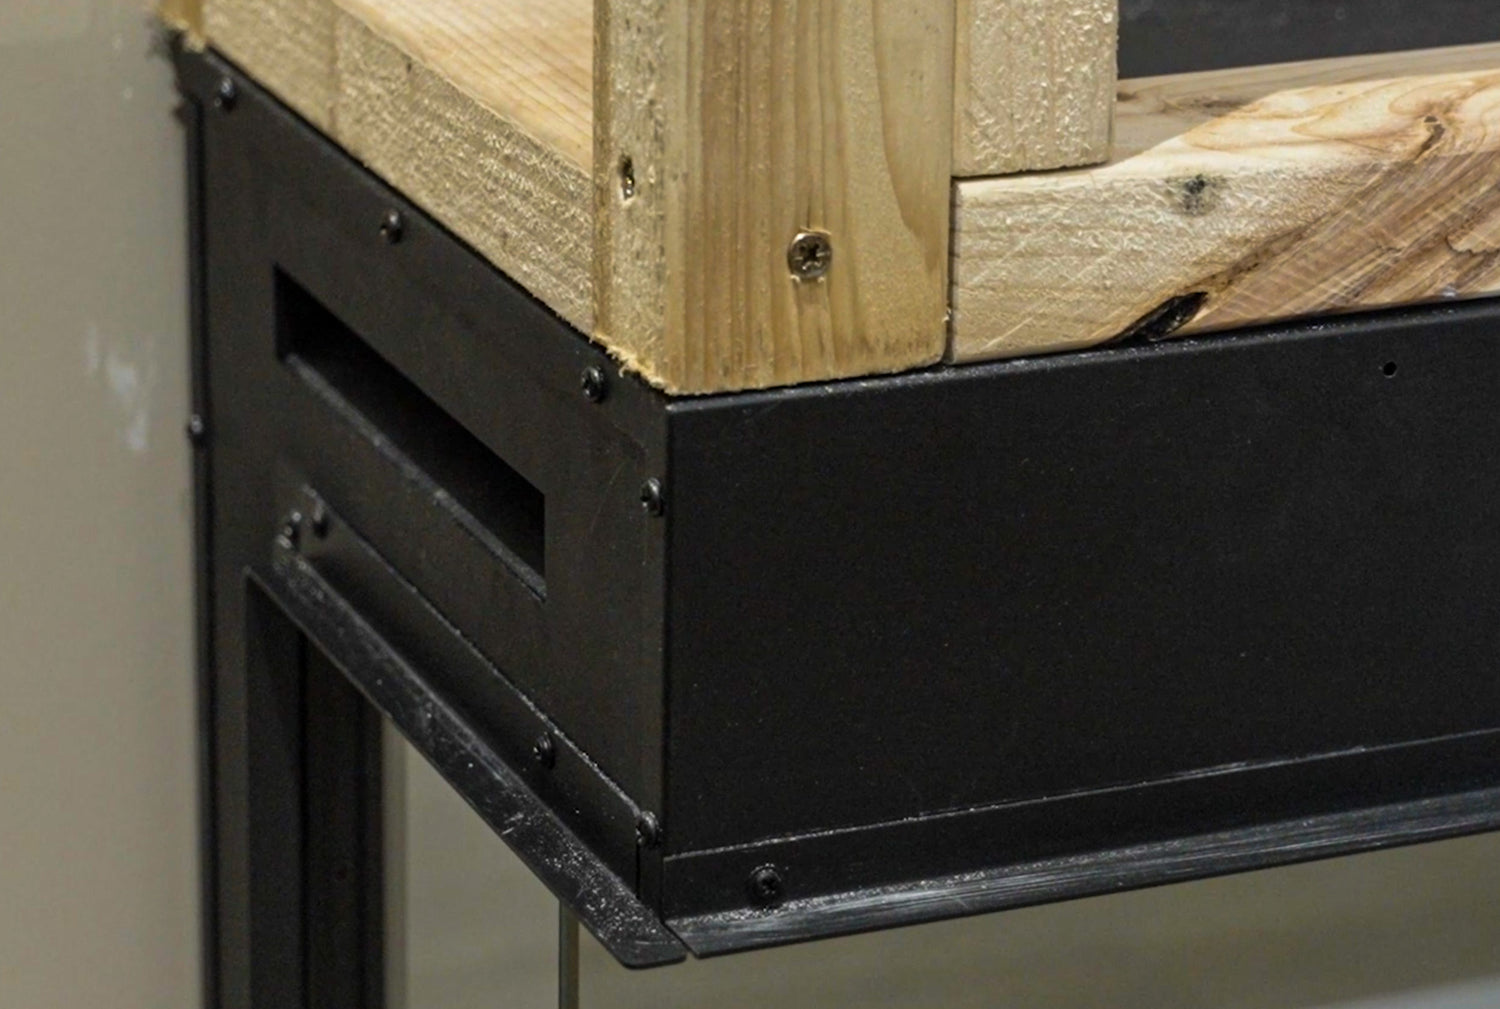
An edge design media wall should look like this where the timber framework sits flush with the top of the fire which will only leave enough space for the plasterboard to be place up to the fire edging and skimmed.
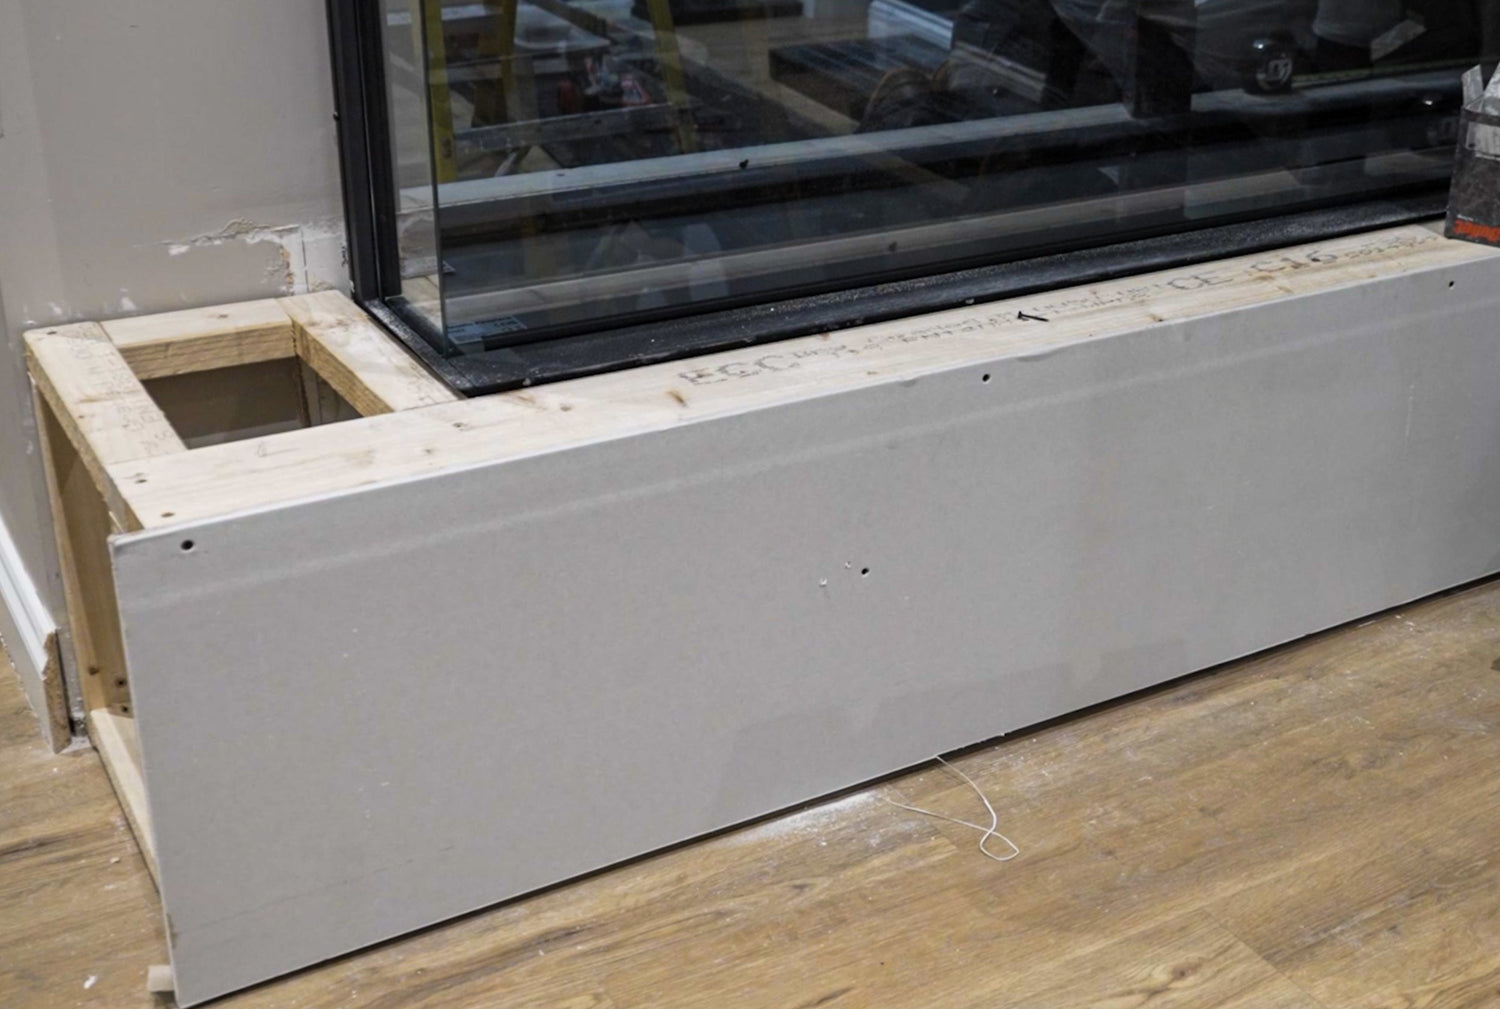
Clad the base platform using cut panels of plasterboard and fix using plasterboard screws. Cut the boards as accurately as possible to prevent having to adjust later as this will create a lot of plaster dust.
The power for the fire should be placed on the left or the right of the base (whichever side is less visible).
Fix plasterboard panels to the top section of the media wall by screwing into place with plasterboard screws.
The fire is equipped with an edging so once plasterboards are placed against it leaves enough space for a plaster skim up to it.
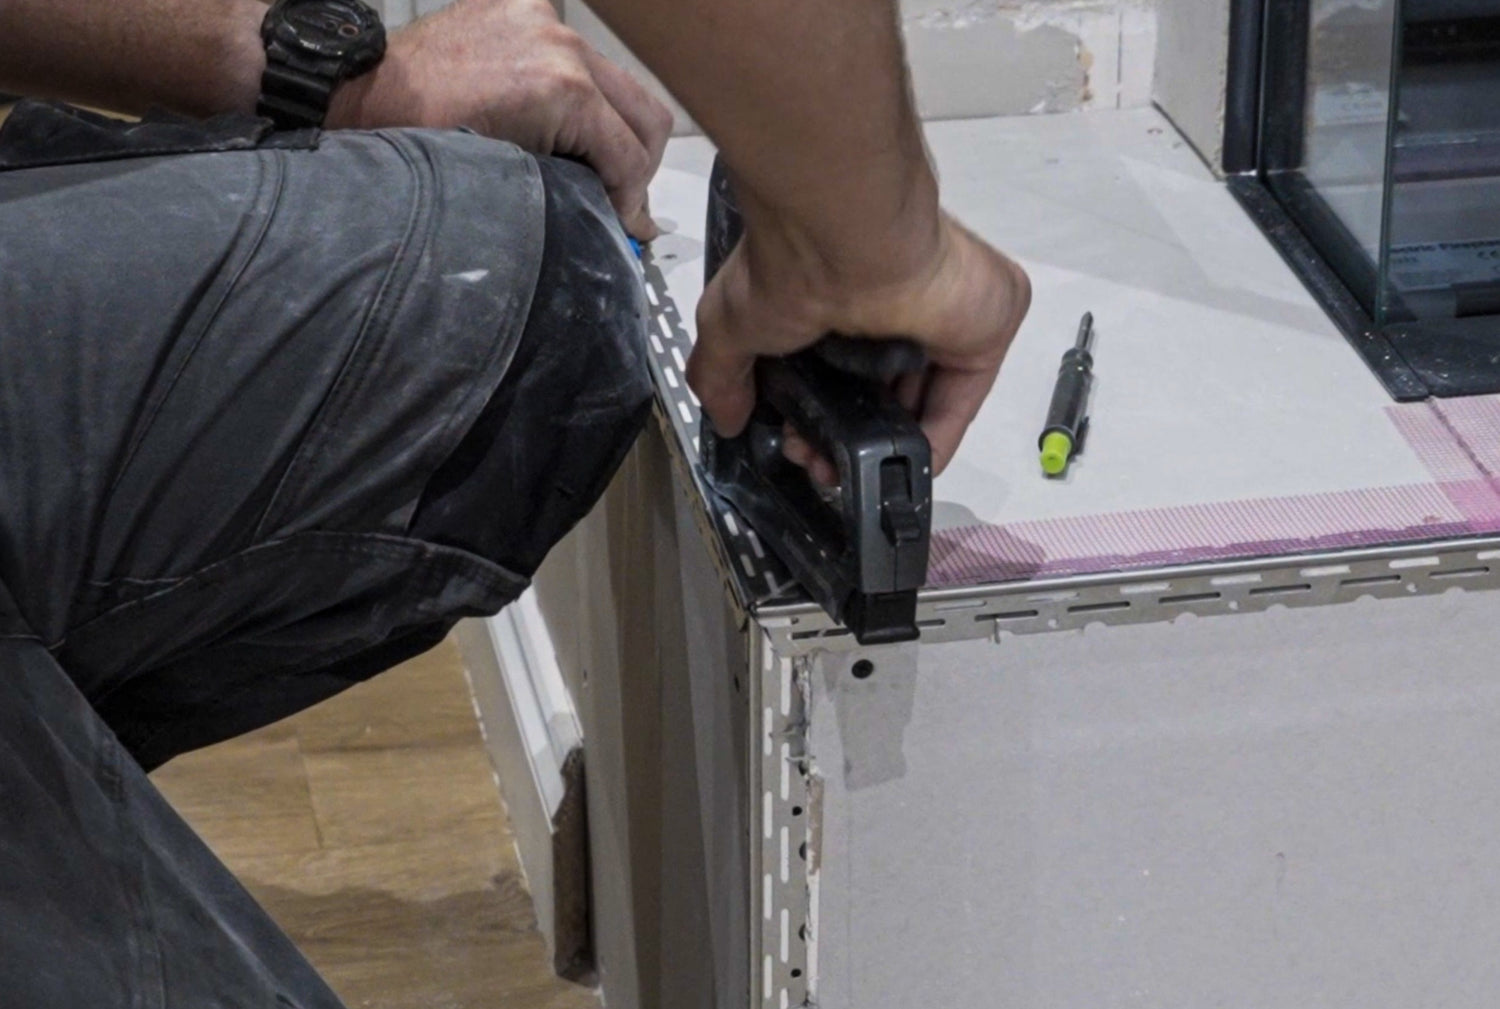
Once the structure has been completely plasterboarded then it can be beaded by cutting lengths of angle bead and securing to all the corners. Though the angle beads can be attached using tacks or screws, we recommend the use of a heavy duty stapler as this is sufficient and will save time.
We advise that time is spent completing the beading as this will affect the overall finish. Beading should be cut at 45° angles and butted tightly in the corners.
Self adhesive scrim tape will be required after beading, this will need to be applied over all the beading and the joints in the plasterboard so the plaster has a surface to stick to. Do not tape over the edges of the bead, only over the holes.
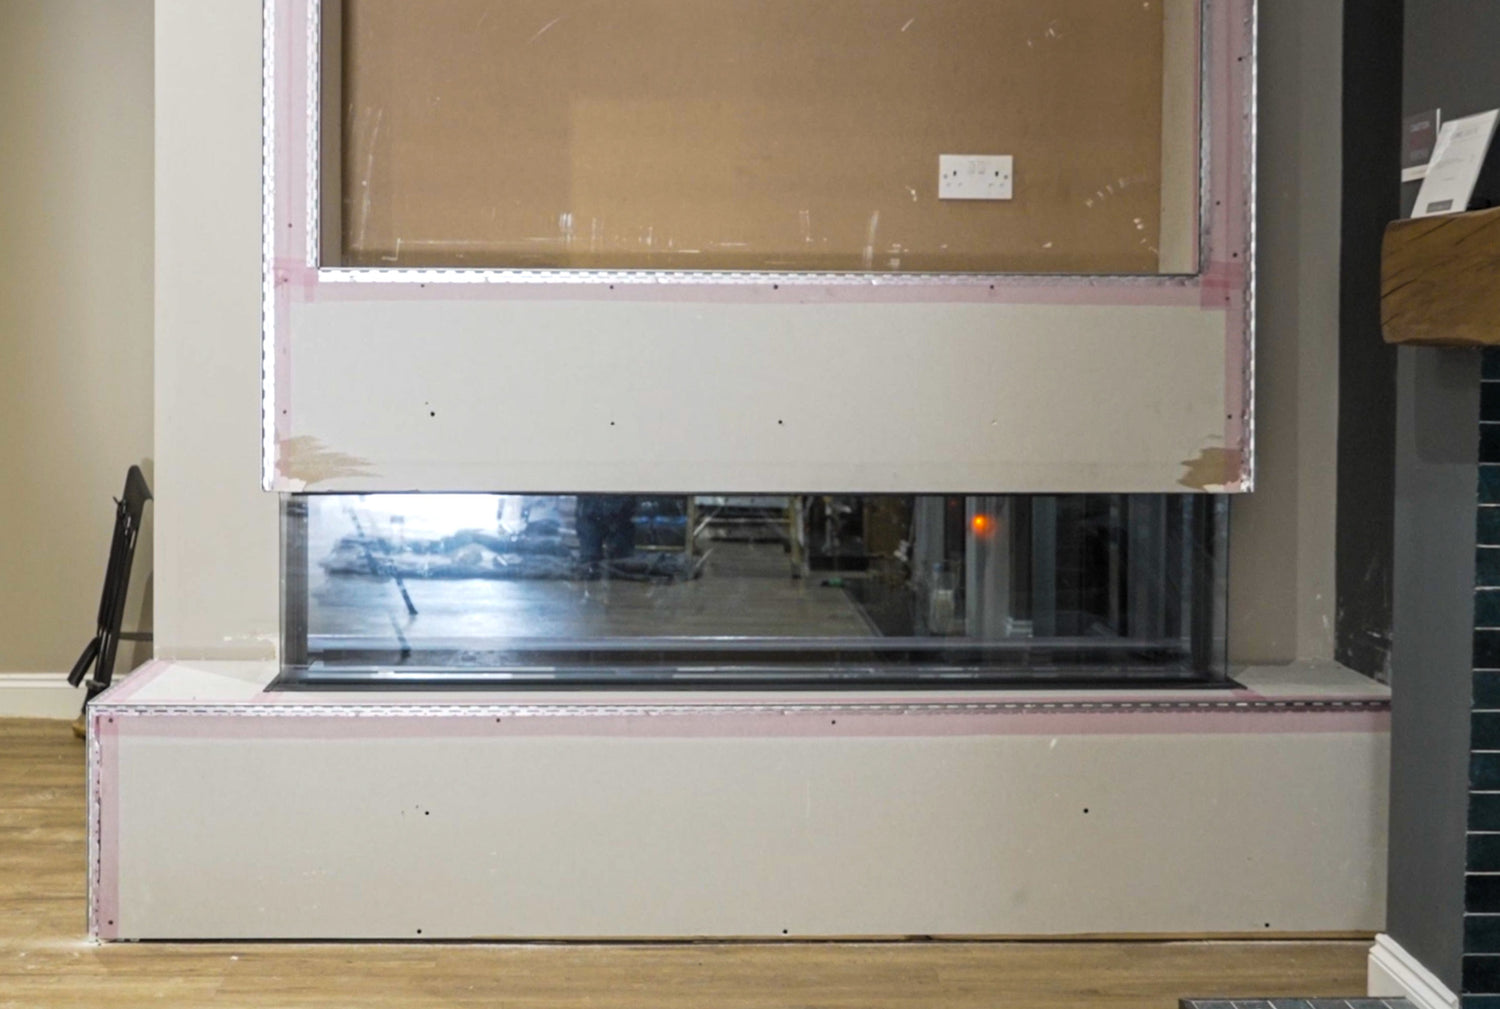
Once beaded you should have a structure that looks like this. With an edge design, beading is not required around the top and bottom edges as the fire edging provides this.
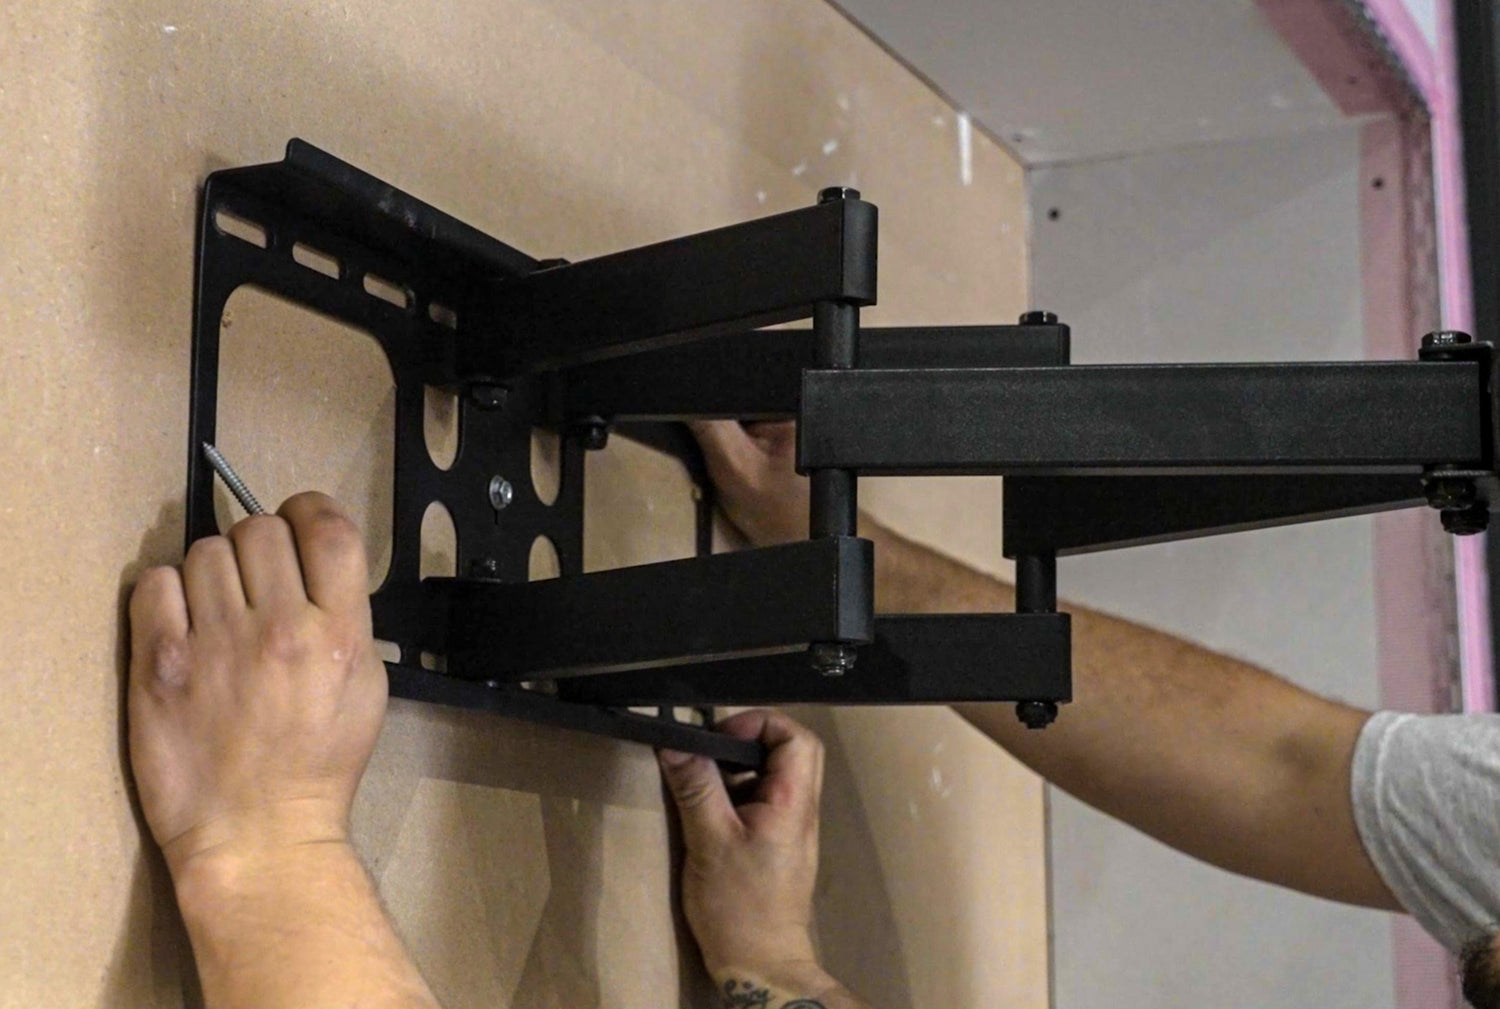
Measure and secure the TV bracket against the back of the TV recess using appropriate fixing bolts. Check it is level before securing in place.
Most brackets will usually be placed in the centre so sockets should be placed in one of the lower corners ideally but not so they are visible once seated.
Mount the TV on to the bracket and secure in place.
Sky, Virgin Media etc can be placed in a suitable cradle against the back wall (these can be purchased Online).
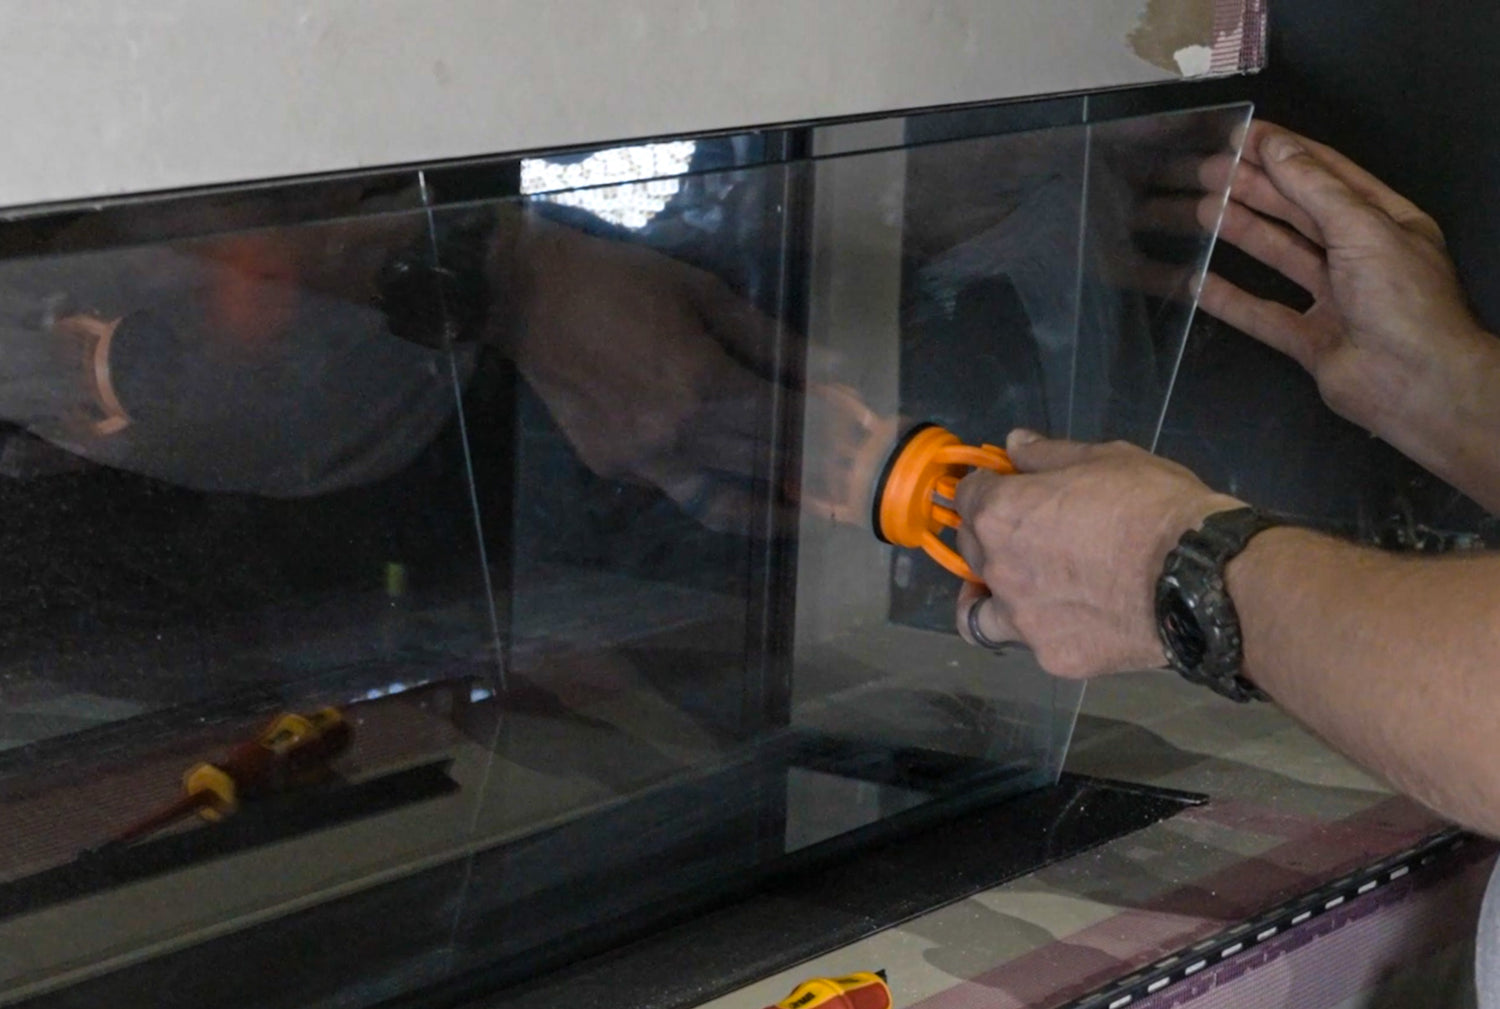
To enter the fire, you will need to remove the glass retaining bar from the top of the fire using a screwdriver. Remove the screws and the bar.
Remove the glass window pane by attaching the two suction cups provided. These are not guaranteed to hold so it is advised to hold the bottom of the glass on removal. Tilt the glass pane forward from the top and lift out. Put in a safe place, not immediately behind.
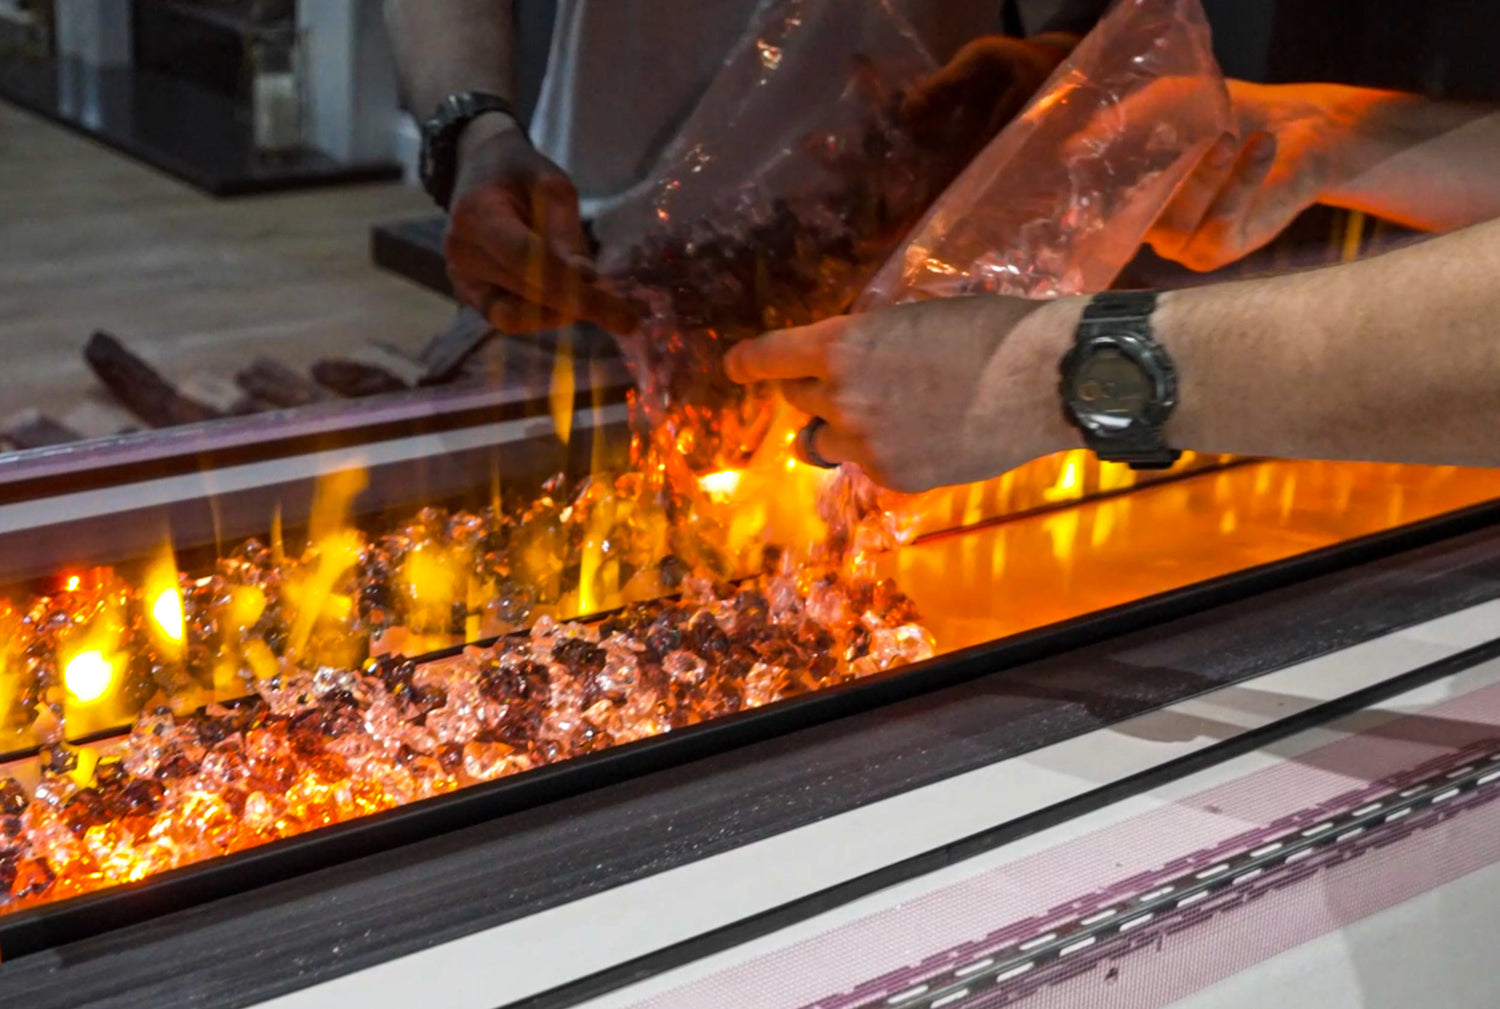
The fire is supplied with logs, mixed crystals and granular material. You can place everything inside the fire or leave certain aspects out to suit your preference.
Place mixed crystals across the base and spread out, it is recommended that crystals are placed in front of the ember lights to conceal them from the reflection from the rear glass panel.
Place the logs into the fire in whichever format you prefer and place the granular material in whichever sections are suited to you, this material can be left out if not required.
Place the glass window pane back in position by easing into the bottom channel and then pushing back at the top, fix the glass retaining bracket back into place.
The media wall is now ready for plastering, it is advisable to cover the fire during the plastering process to prevent dust ingress or damage.